Ghostty, My new daily driver (sorry Alacritty)
3 mins read
Introduction
Over the years, I’ve had the chance to use a wide range of terminal emulators, Windows Terminal, Alacritty, st, and many others. Each had its quirks, strengths, and weaknesses, but none ever felt like the perfect fit.
Then came the public release of Ghostty 1.0. Seeing the buzz on Twitter and the excitement from developers raving about its features, I couldn’t resist giving it a try.
And let me tell you, it delivered.
After just a few hours of testing, Ghostty convinced me to make the switch from Alacritty, something I didn’t expect to happen anytime soon. It’s sleek, intuitive, and packed with features I didn’t even realize I needed. In this post, I’ll explore what makes Ghostty special, highlight some of my favorite features, and explain why it’s now my terminal of choice.
What is Ghostty?
Ghostty is a terminal emulator designed to be fast, feature-rich, and cross-platform, utilizing platform-native user interfaces and GPU acceleration.
Developed by Mitchell Hashimoto, known for creating tools like Vagrant and Terraform, Ghostty aims to provide a seamless and efficient command-line experience for developers and system administrators.
Why Ghostty Stands Out
Ghostty isn’t just another terminal emulator, it brings features that truly set it apart. Here are some of my favorite features:
-
Simple Configuration: Setting up Ghostty is refreshingly straightforward. Unlike some emulators that require fiddling with complex files, Ghostty’s configuration process is intuitive and beginner-friendly while still offering power for advanced users.
here is my config for my current setup:
config theme="/home/ouassim/.cache/wal/colors-ghostty"font-size=22window-decoration=falseconfirm-close-surface = falseclipboard-paste-protection = falseunfocused-split-opacity = 1.0copy-on-select = clipboardbackground-opacity=0.8cursor-style = blockcursor-style-blink = falseshell-integration-features = no-cursorterm = kitty
-
Terminal Splitting: Need to run multiple commands in parallel? Ghostty’s native splitting feature allows you to divide your workspace into multiple panes effortlessly, keeping everything within a single window without the need for external tools like tmux.
-
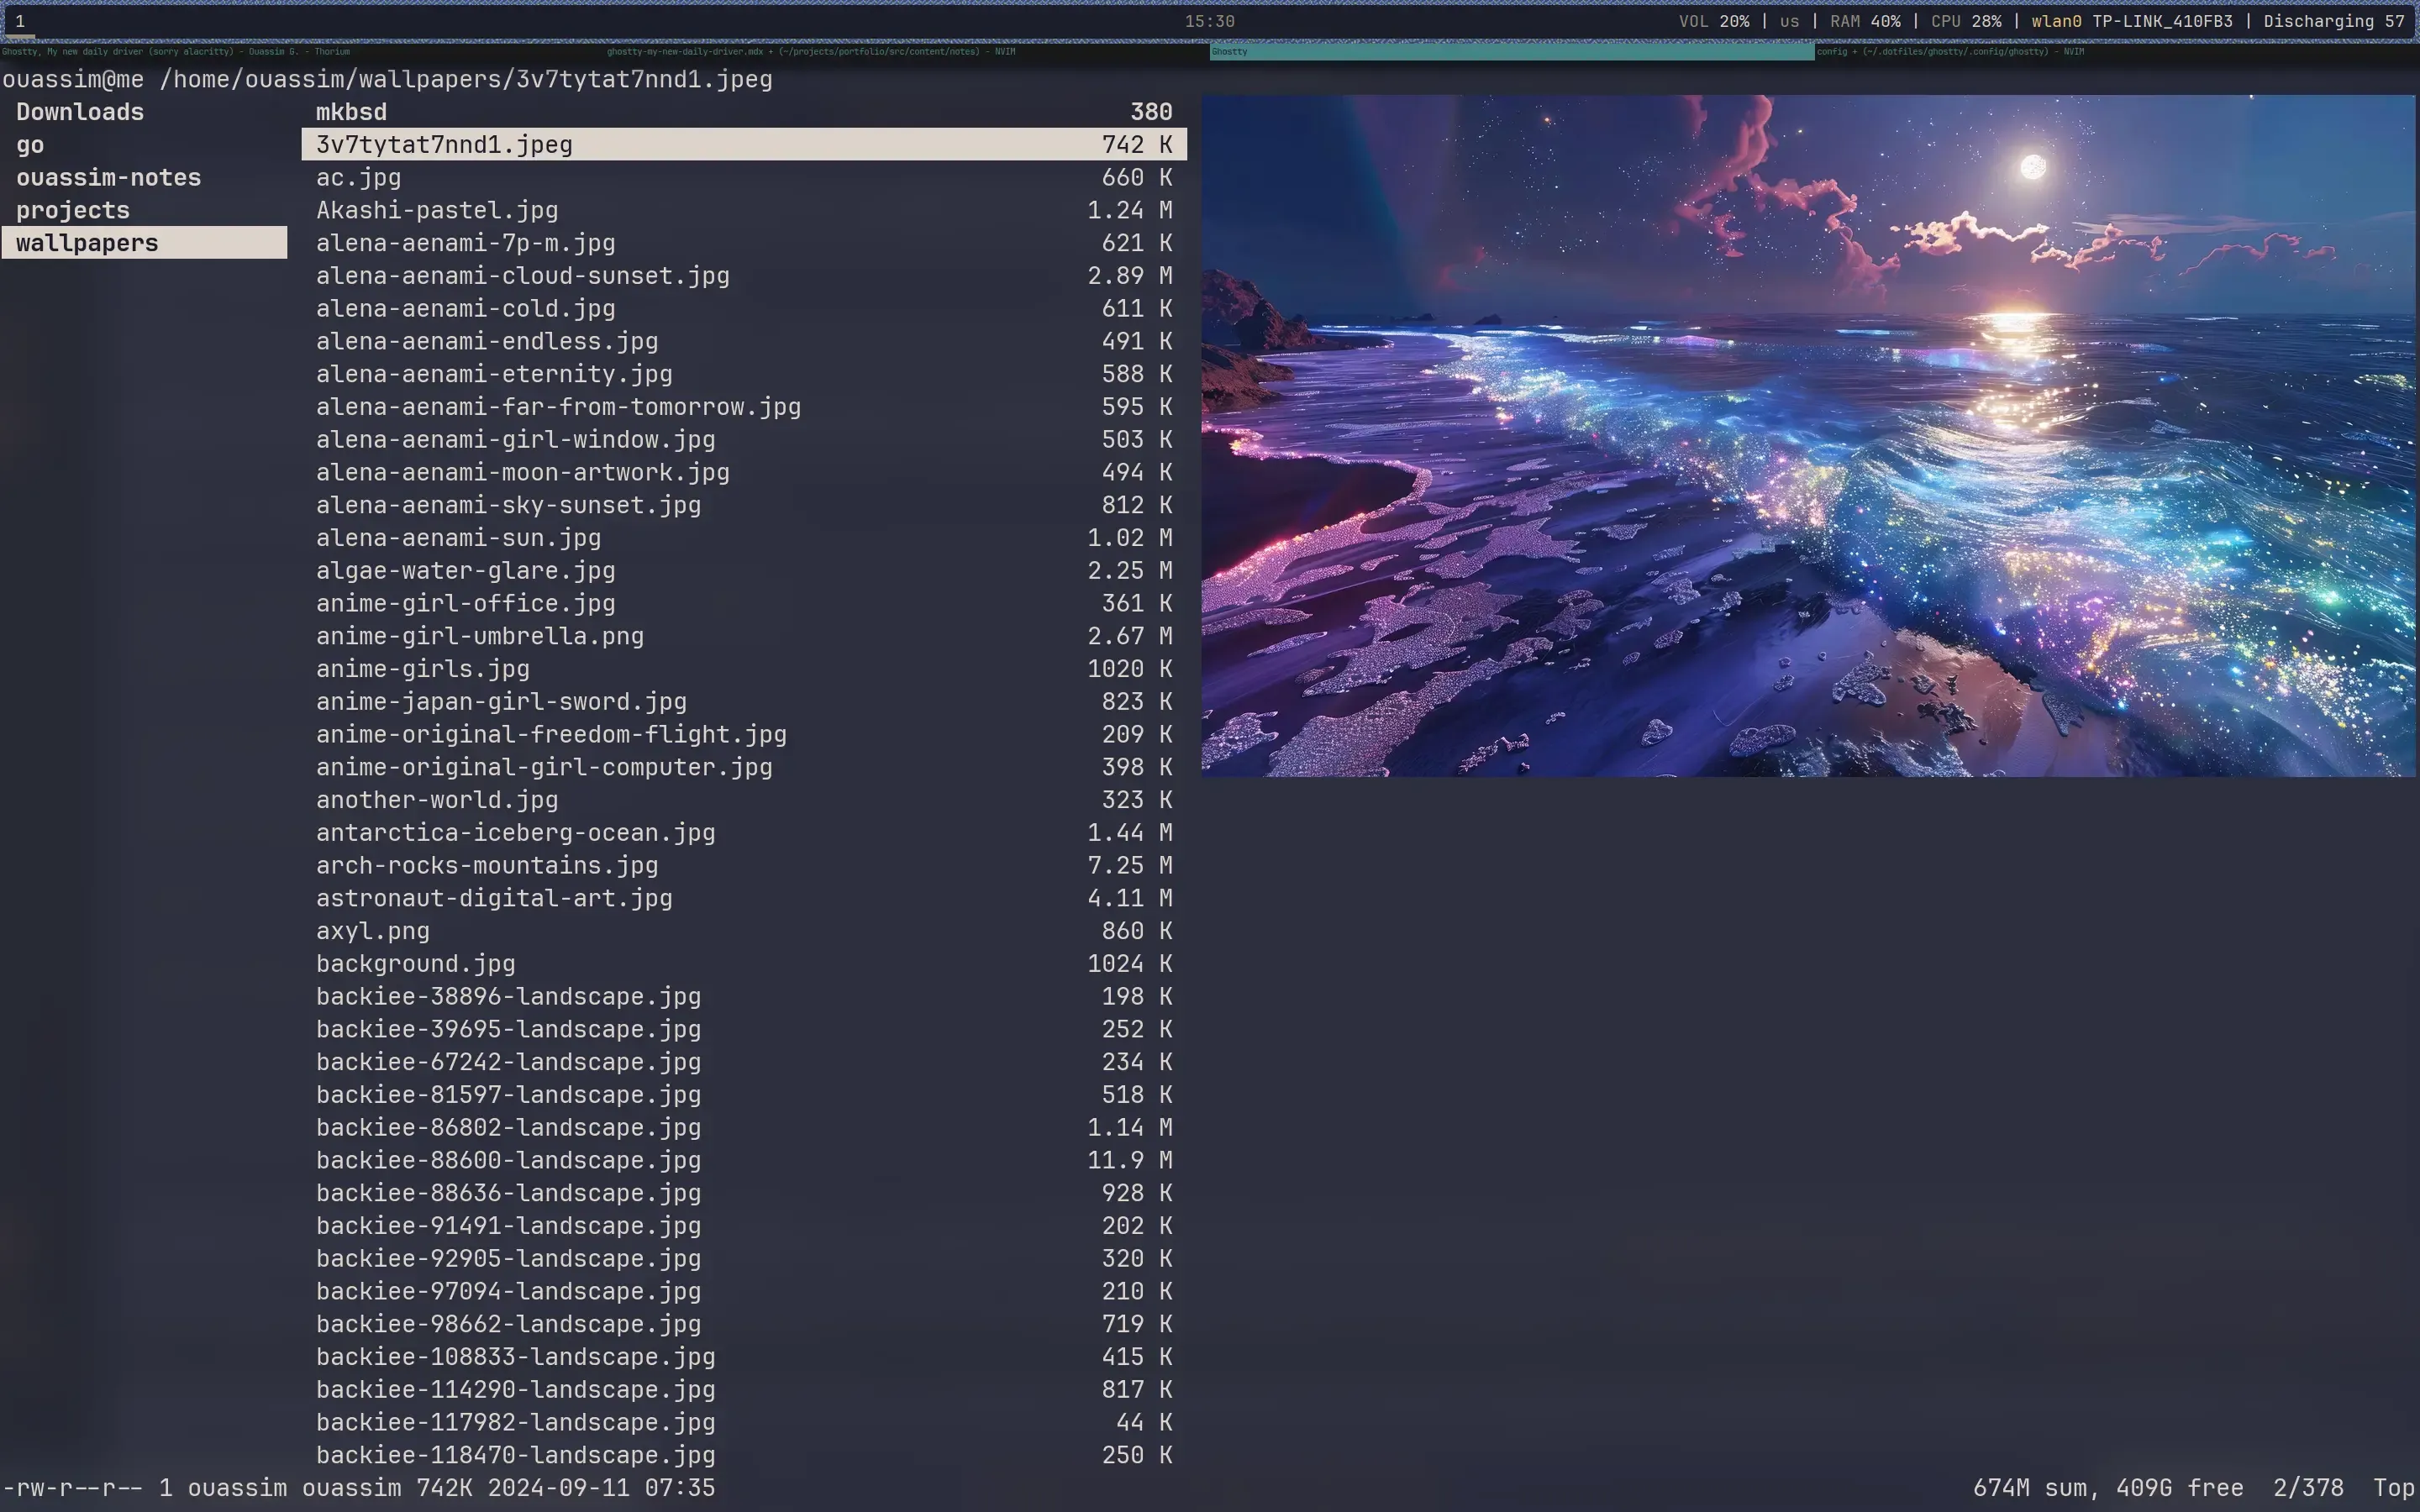
KiTTY Image Protocol Support: Ghostty supports KiTTY’s image protocol, allowing you to view images directly in the terminal, no need for a separate viewer. This flexibility even extends to running graphical applications like DOOM in the terminal, showcasing Ghostty’s impressive performance.
Tips
Use kitty to preview images with ranger
- Install pillow.
- Update your ranger config (it should be under
~/.config/ranger/rc.conf) to include:set preview_images trueandset preview_images_method kitty. - Update your Ghostty config to include
term=kitty.
and voilà! now you should be able to preview images directly in your terminal.

Use Pywal with Ghostty
- Create a new template file for ghostty (reference), and place it under
~/.config/wal/templates/colors-ghostty
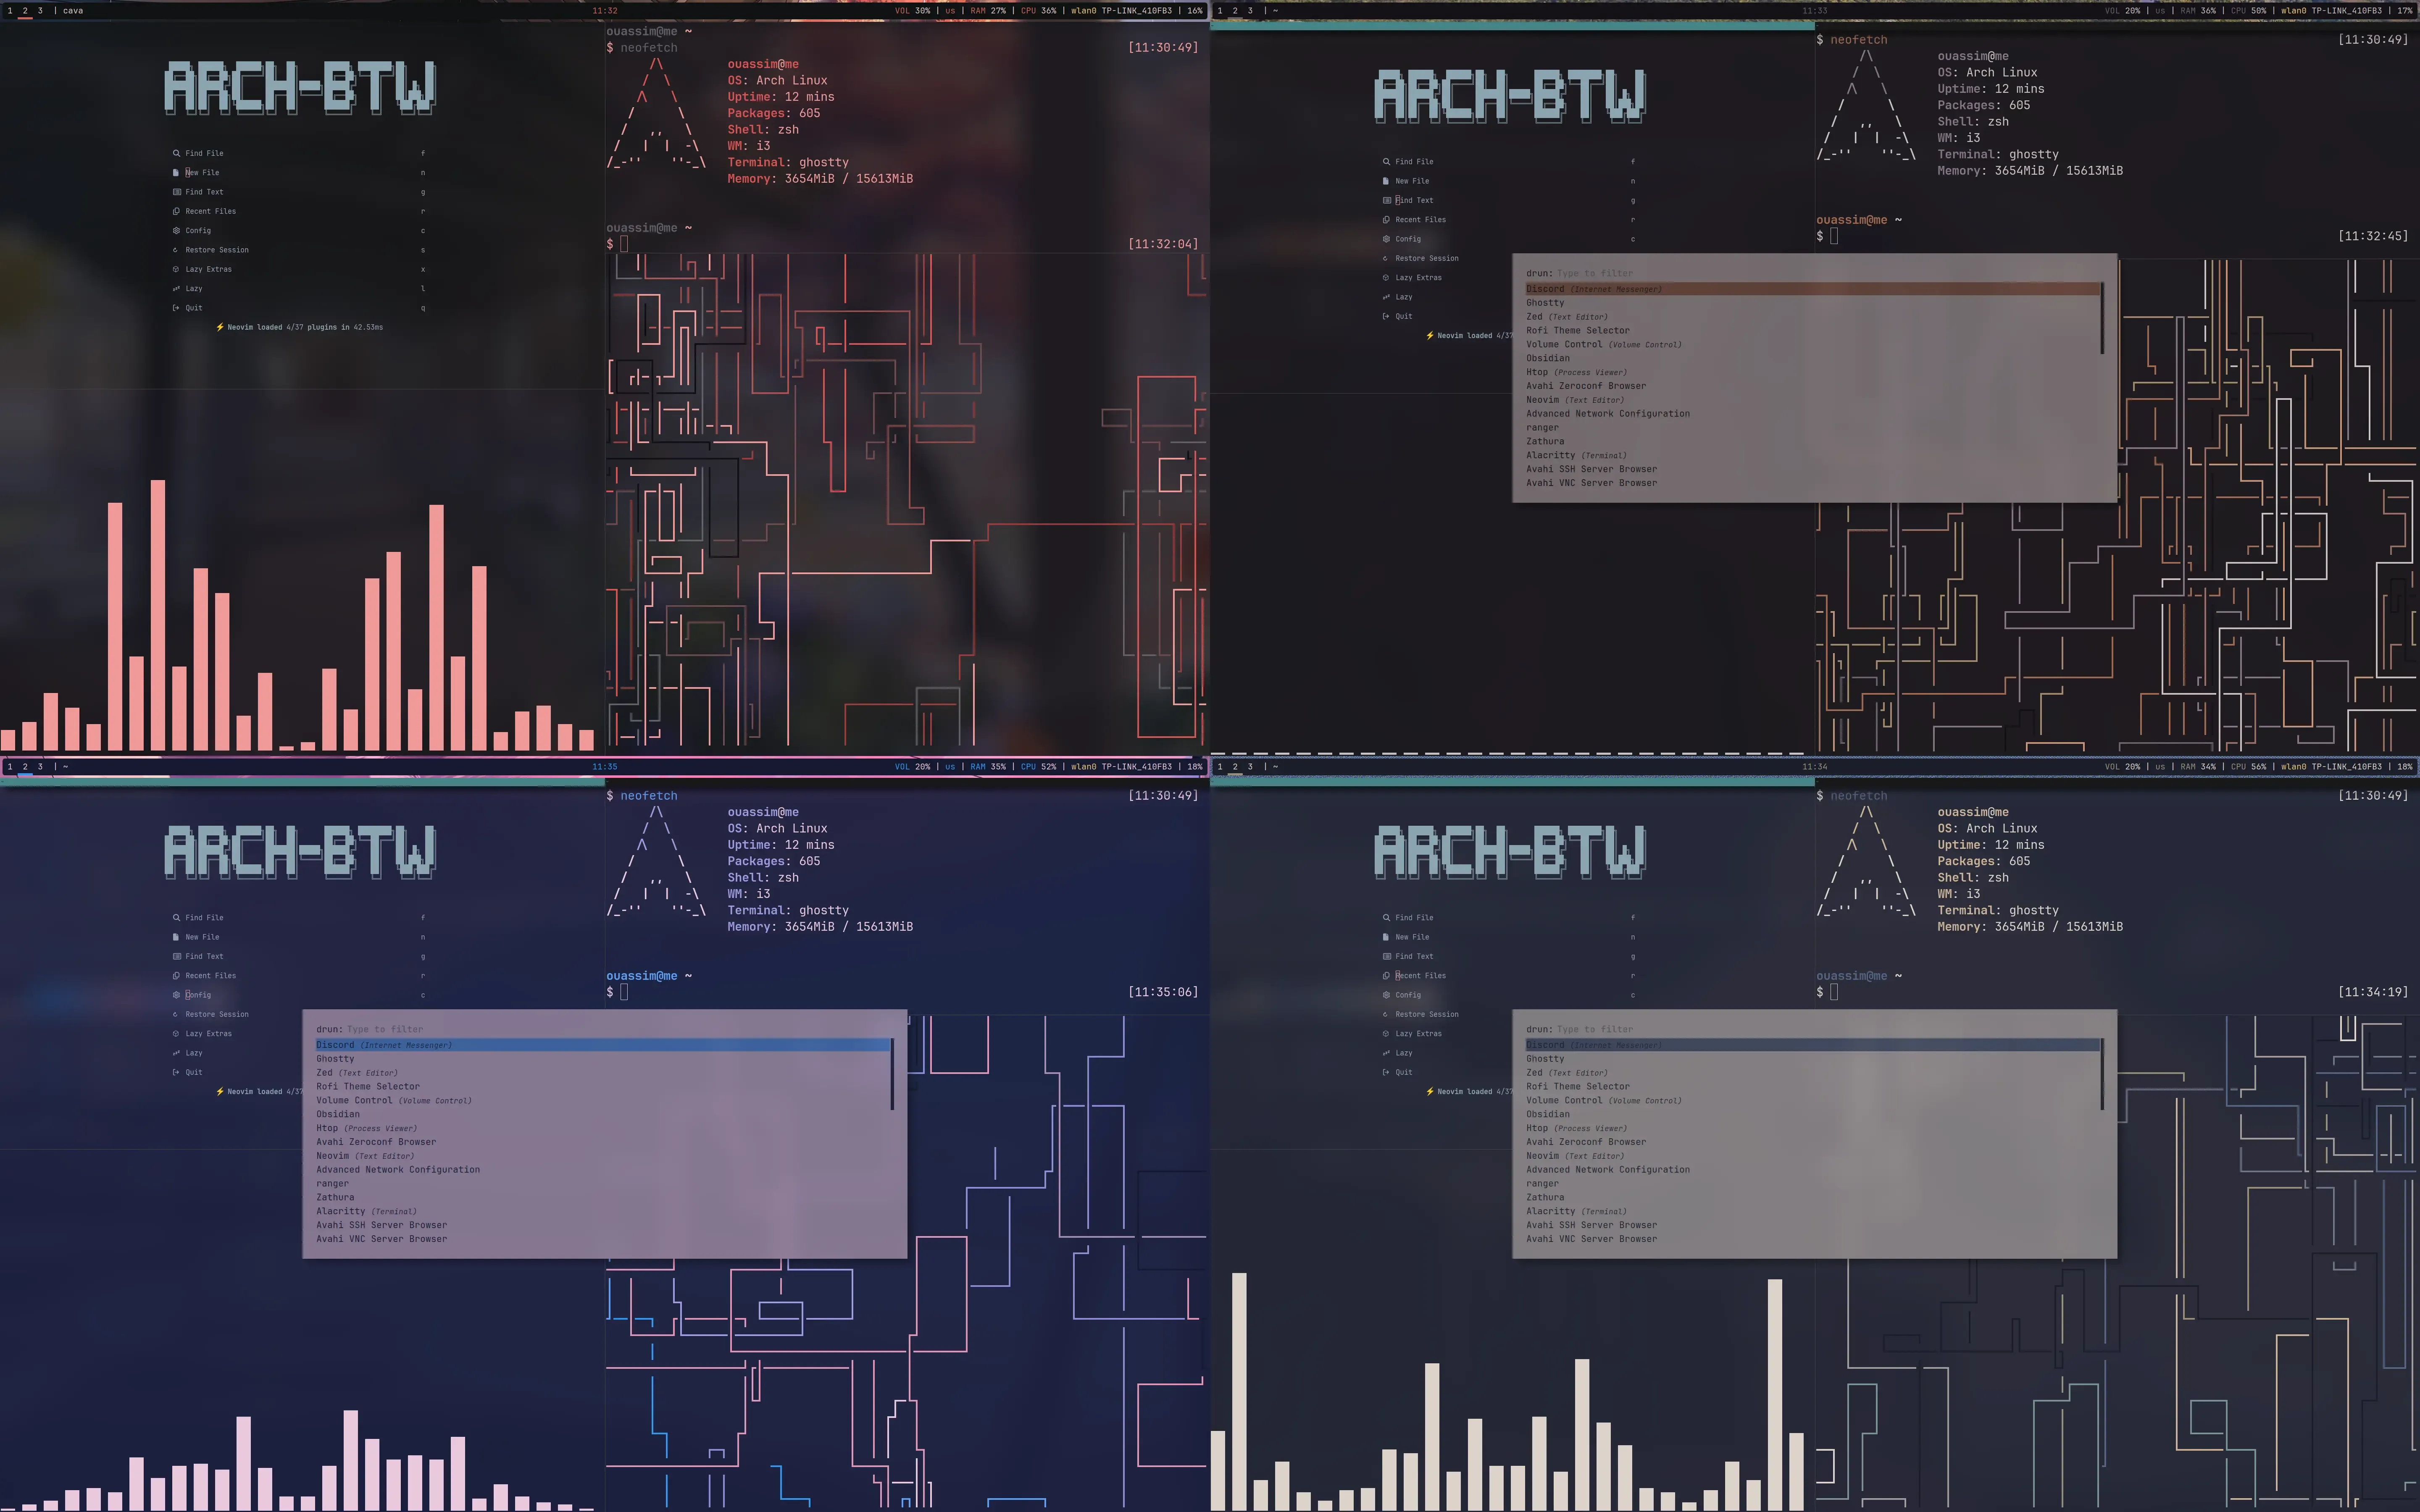
palette = 0={color0}palette = 1={color1}palette = 2={color2}palette = 3={color3}palette = 4={color4}palette = 5={color5}palette = 6={color6}palette = 7={color7}palette = 8={color8}palette = 9={color9}palette = 10={color10}palette = 11={color11}palette = 12={color12}palette = 13={color13}palette = 14={color14}palette = 15={color15}background = {background}foreground = {foreground}cursor-color = {cursor}selection-background = {background}selection-foreground = {foreground}-
Update you ghostty config to include
theme="/home/<$USER>/.cache/wal/colors-ghostty". Make sure to replace$USERwith your user name. -
Run Pywal on a wallpaper.
-
Restart Ghostty and it should work 🚀.

Conclusion
For now, I’m making Ghostty my daily driver, and I’m genuinely excited to see how it evolves with future updates. If you’re curious to try it yourself, I highly recommend checking it out.
You can find more details and join the conversation with other users on Ghostty’s Discord or dive straight into it by visiting their official website. Happy hacking!